エクステリアに特化した3D CAD O7では、通常の屋根に加えて各階に個別に屋根を追加することも可能です。
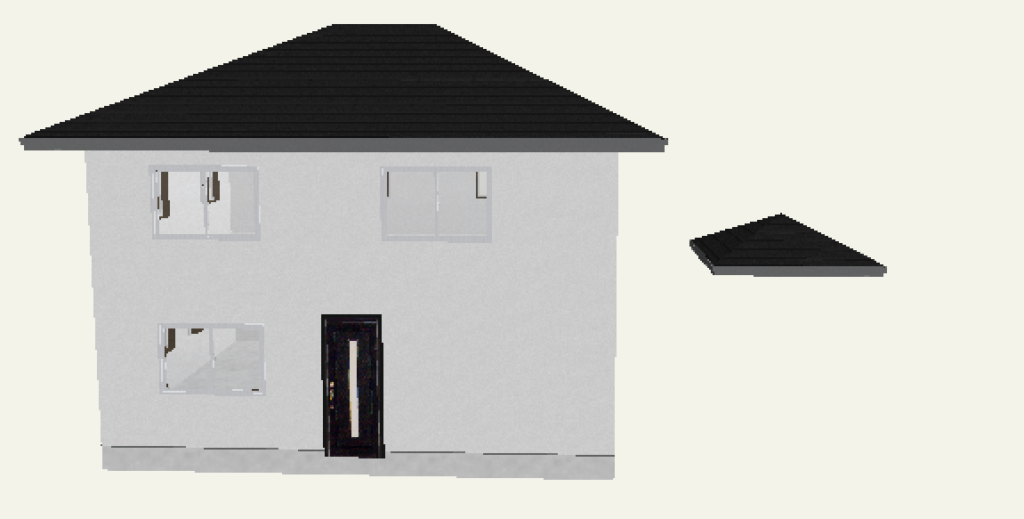
この方法を使うと、1階に玄関屋根を設置することができます。
ここではその方法について解説しています。
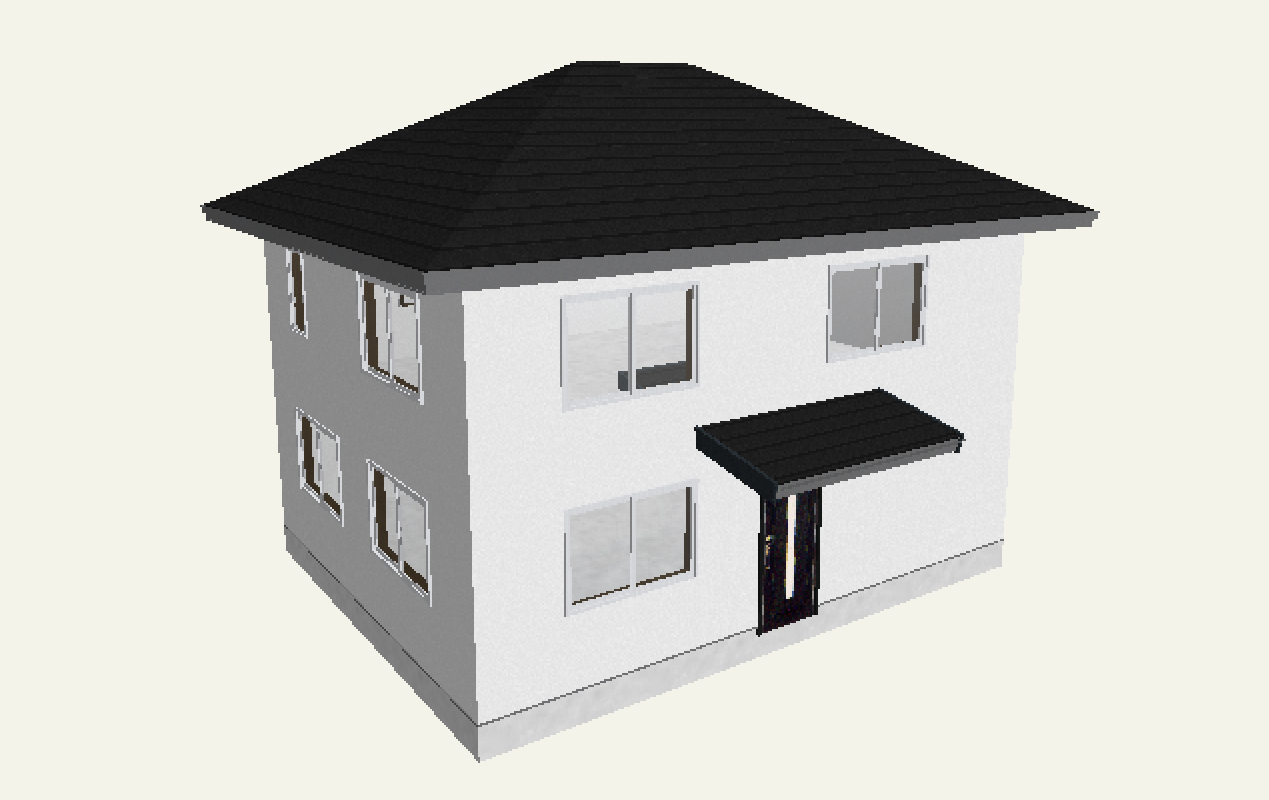
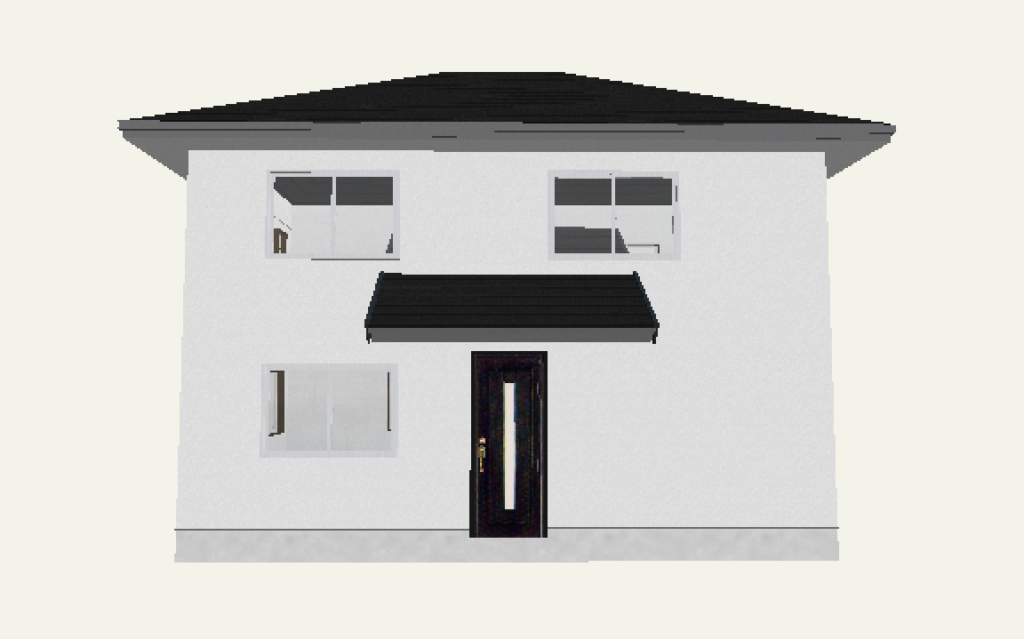
作成する図面は下記を使用します。
合わせて読みたい
建物を作成する方法については下記をご参考ください。
1階に屋根を追加する方法
まずは、建物基礎をダブルクリックして建物デザイナーを起動します。
左メニューで「屋根」レイヤーを選択します。
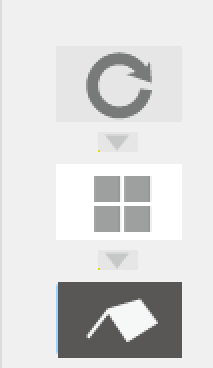
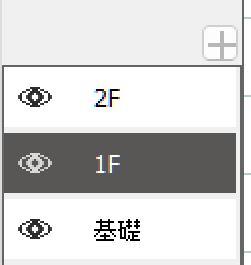
下側のメニューで「1F」をクリックします。
平面図上の何もないところで右クリックをし「1Fに屋根を追加」をクリックします。
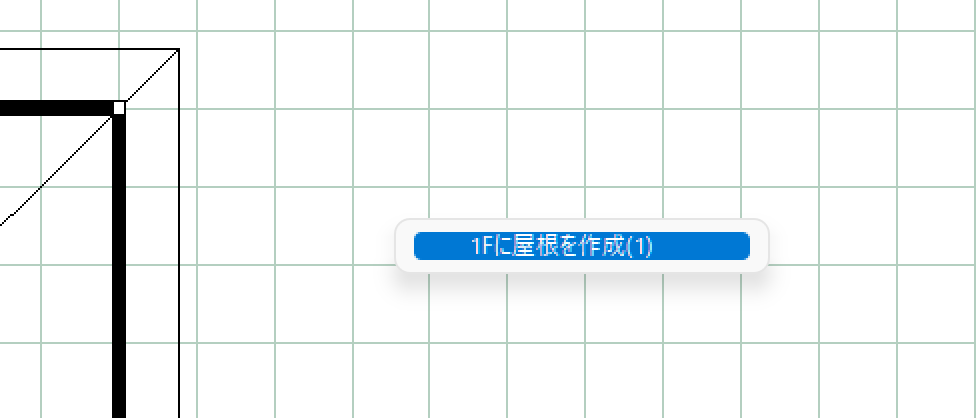
すると平面図上に新しい屋根が追加されます。
屋根の移動
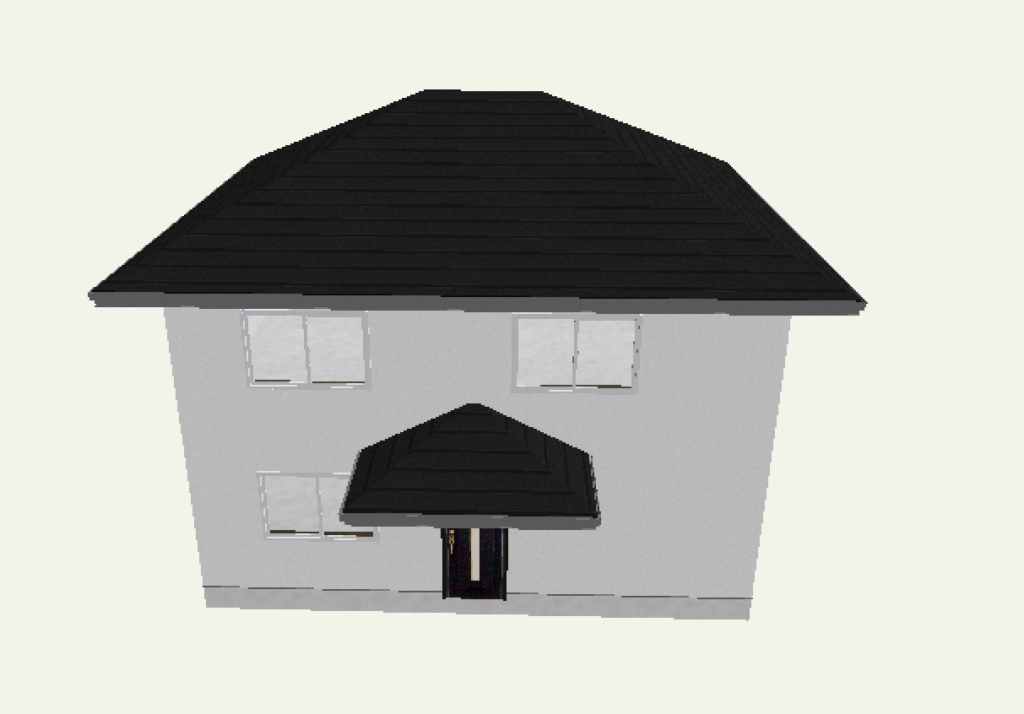
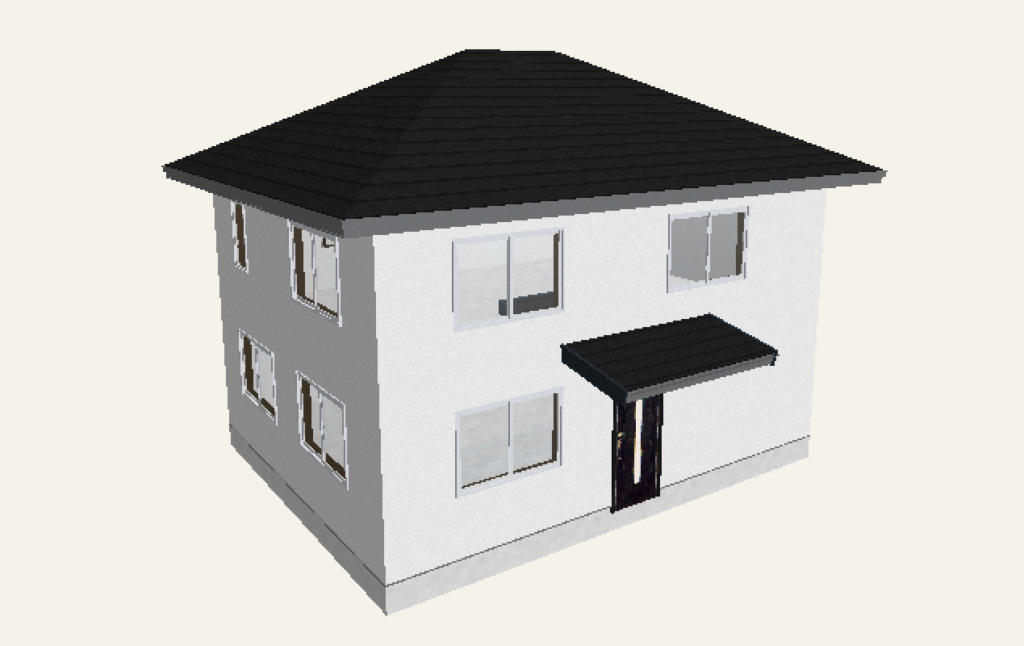
OK事例
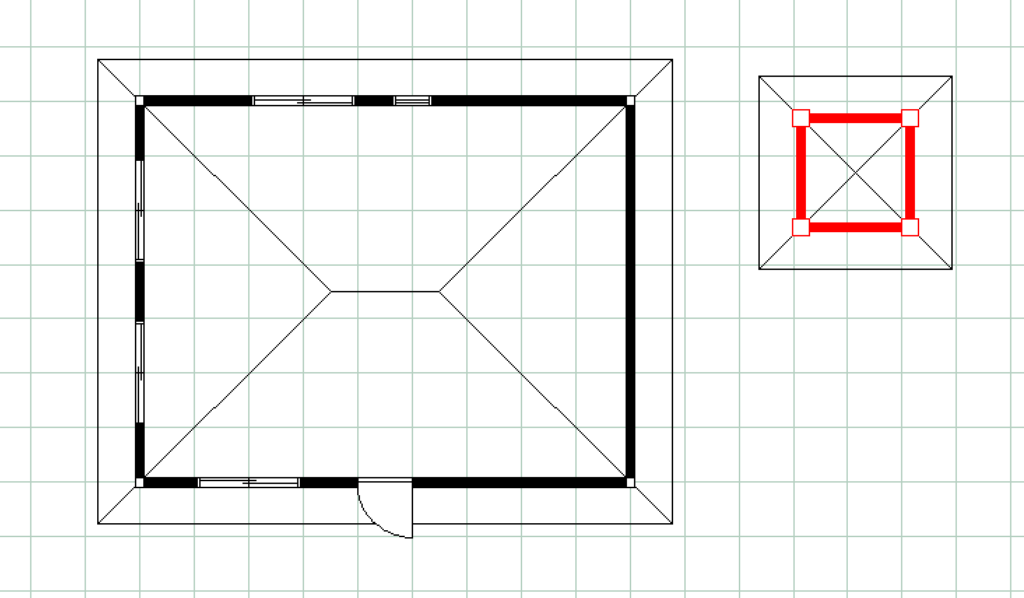
作成した屋根をドラッグして1Fの玄関の上に移動します。
ポイントは屋根の中心を壁の上に合わせることです。
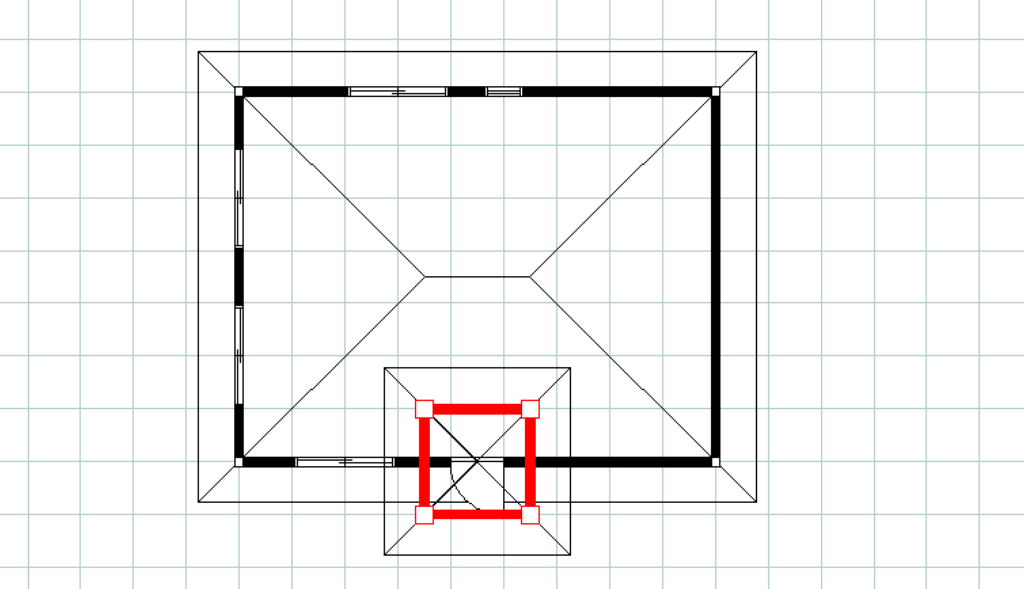
こうすることで屋根の頂点が壁と重なります。

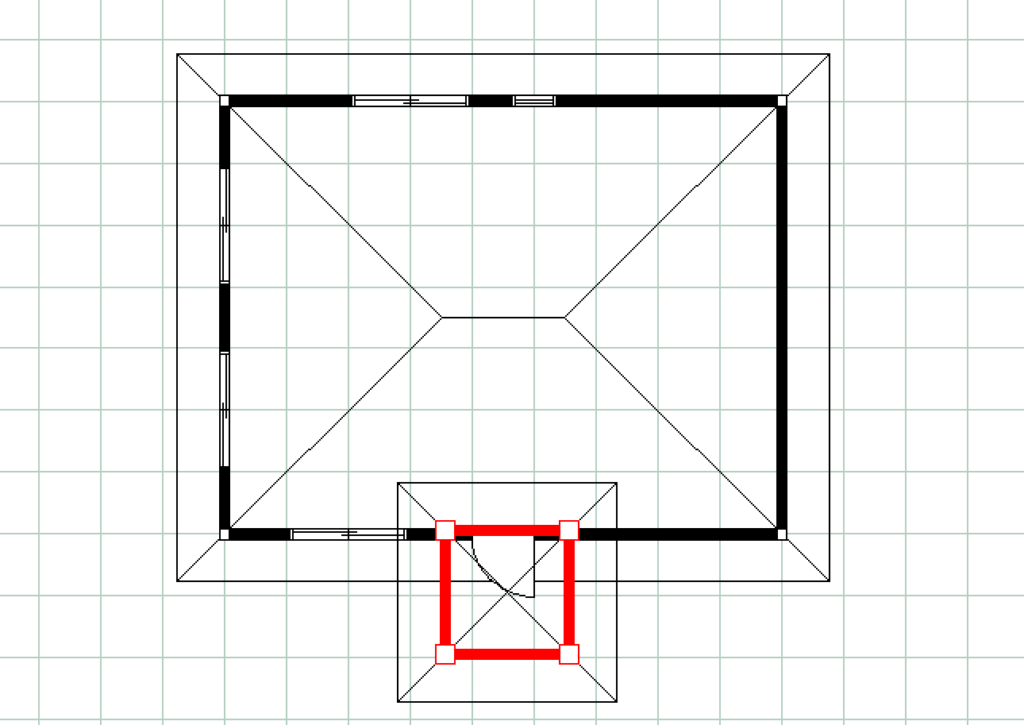
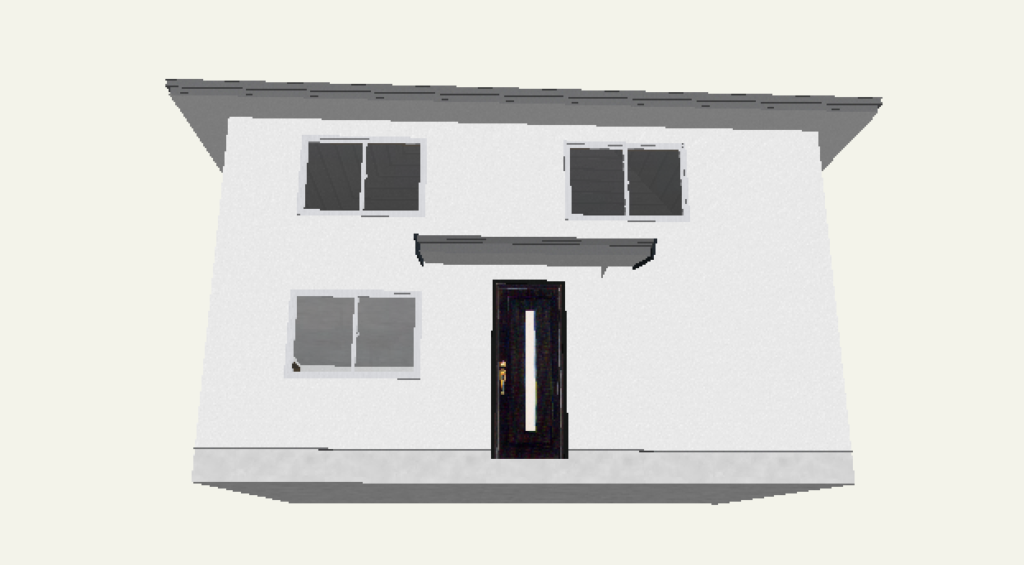
NG事例
屋根の中心が壁と合っていないと以下のようになります。
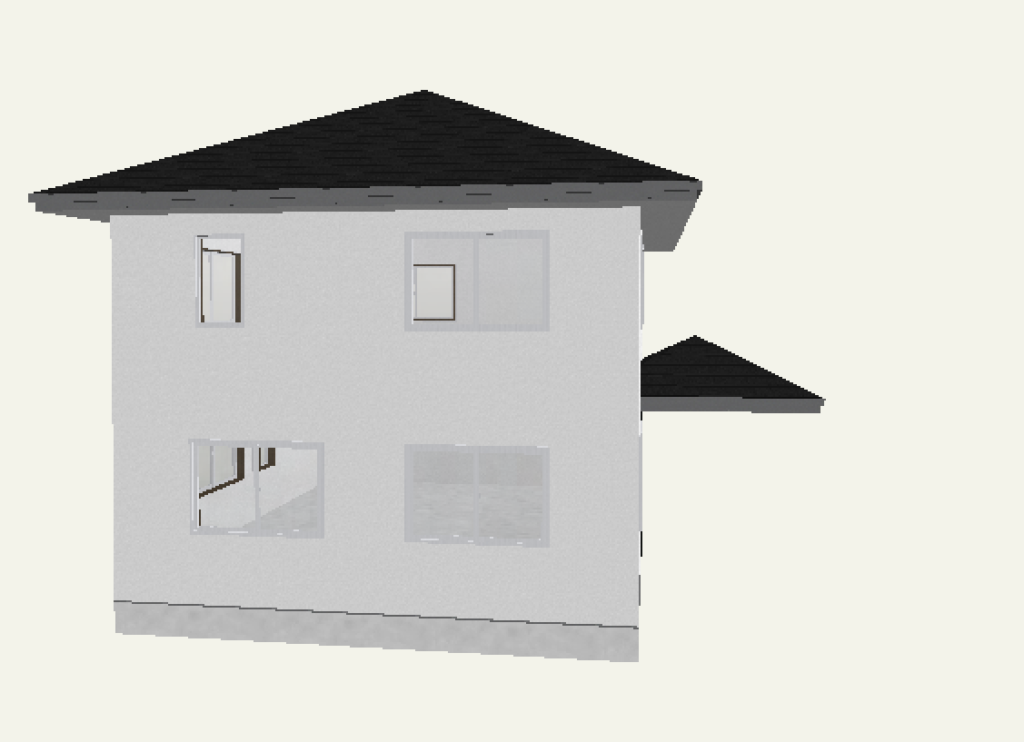
屋根の形状変更
現状の屋根は4辺ともに屋根ありになっています。
切妻や片流れにしたい場合は、辺をクリックして「屋根なし」を選択します。
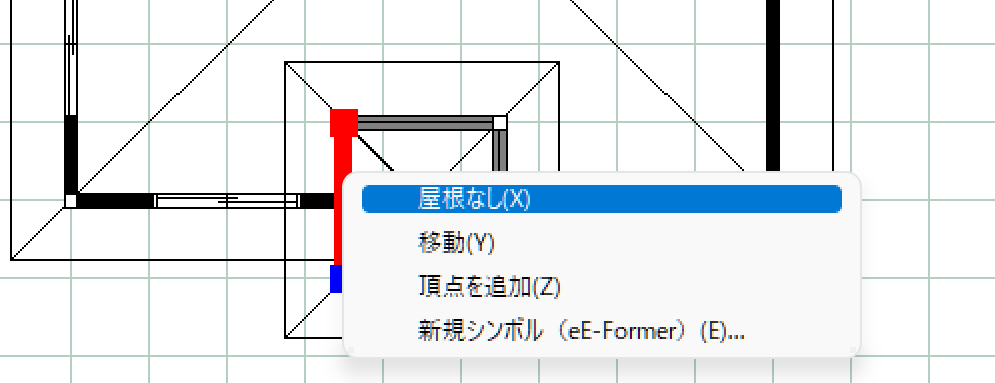
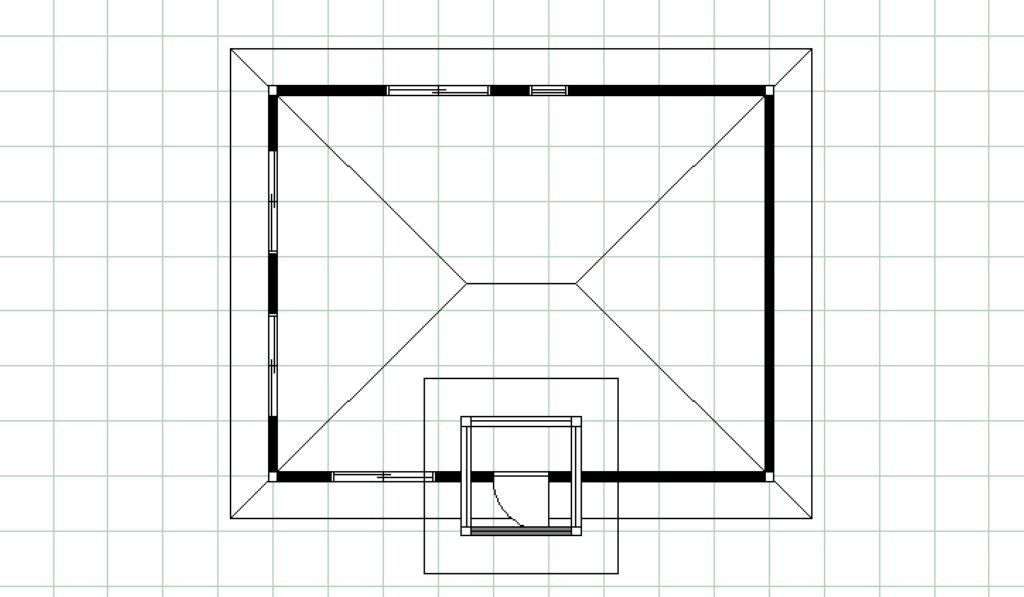
↓ 3辺の屋根を削除
屋根の勾配や寸法を調整する
最後に屋根の勾配や寸法を調整します。
屋根をクリックし、右側のメニューで必要に応じて数値を入力します。
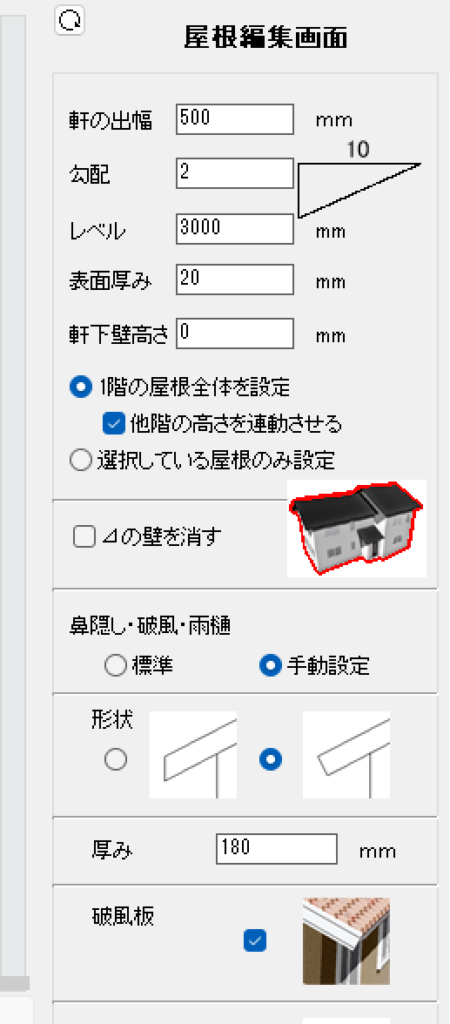
入力ができたら一番下の「適用」をクリックします。
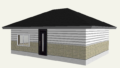
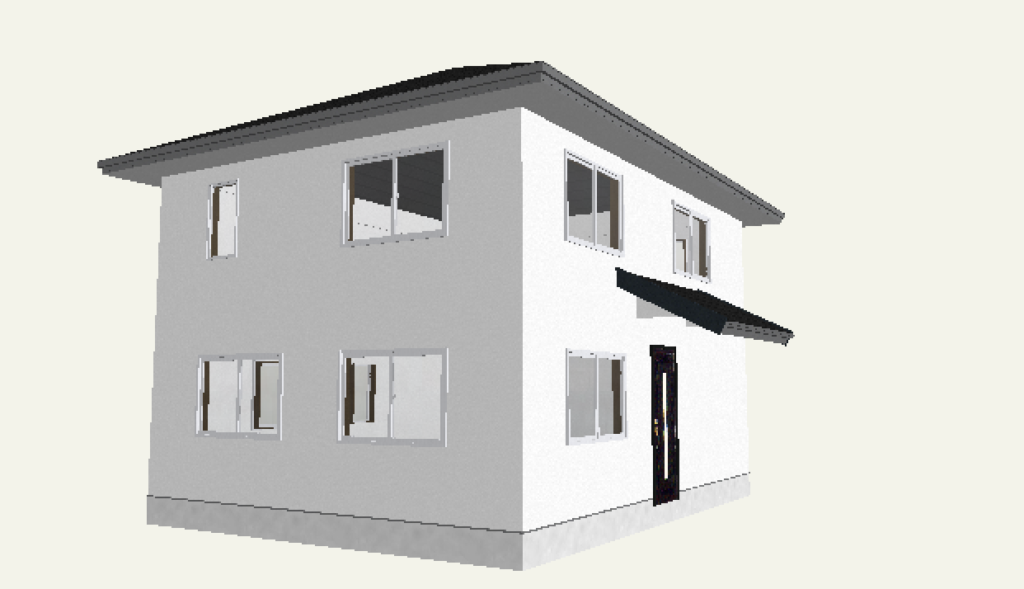
以上で玄関屋根の設置が完了です。
合わせて読みたい
玄関にパラペットを設置する方法については下記をご参考ください。